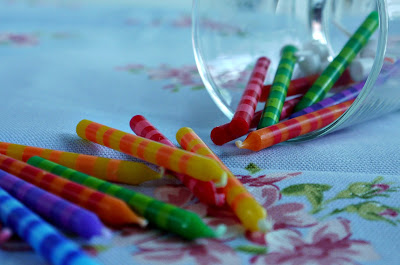
One of the (many) things I learned at the Tots 100 Blog Summit in Birmingham this weekend, was how to use my Lumix G2 camera a bit more effectively thanks to Tom and Becky Arber's photography workshop. I've always wanted some hands on advice on how to get more out of my camera but have never been brave enough to sign myself up for a course. To get expert advice (suitable for a simpleton like me) for free, thanks to this brilliant conference, was absolutely fabulous and just one of the reasons why I love coming to these events. There is always something new to learn.
One of the things I regularly photograph for the blog is food for reviews or recipes and it isn't as easy as it should be! Flashes make the picture look really flat. Too little light and the image isn't sharp enough. We don't always have a fabulous source of natural light to illuminate our photography subjects so for well-lit, focused food photos we need an artificial light source. Tom had some great lights which were perfect for the job and cost just £30. These will prove a great investment for most bloggers but you can use an angle poise lamp just as effectively.
I didn't realise just what a difference the different lighting made to the image. I took these photographs of a plate of chocolate doughnuts using the automatic setting on the camera and without a flash.
Image 1 is lit from above with a light. Image 2 has no extra lightsource. Image 3 was lit from the side and Image 4 had sandwich lighting from both sides. The difference in the images is quite marked, allowing you to get the look you want using shadows and lighting to their desired effect. It has given me the confidence to experiment with my photography and to play with how I use lighting.
We also got to play with shutter speed whilst photographing flour being sieved. Using the S setting on the camera I adjusted the speed to about a 200th of a second. This photo froze time showing the flour particles passing through the sieve almost individually. Setting the camera to a slower shutter speed and using a tripod gave a very different effect of the flour flowing through the sieve. It had a hazier look as the light entered the camera for longer. These techniques can be used for liquids too to capture a drink being poured into a glass.
So even an old dinosaur like me can learn new things! Thanks to Sally and the Tots 100 team for their continuing input into the blog-related education of our community!


